Pool table installation isn't something most people deal with more than once or twice in their lives. So when you call to schedule one — usually because you're moving, you bought a used table, or you inherited one — there's a lot you don't know about what's actually going to happen, what it should cost, and what affects the price.
This article is meant to demystify the process. By the time you finish reading, you'll know what's involved in a proper installation, the single biggest variable that drives the cost (the cloth), and what to have ready before the installer shows up.
What a pool table installation actually involves
A standard installation breaks down into roughly six stages. If you're starting from a table that's already disassembled (in pieces from a move or sitting in your garage from a purchase), the work begins at stage one. If the table is currently set up and needs to be taken apart for transport first, that's a separate disassembly step before any of this.
1. Frame and leg setup. The base frame and legs are positioned in the room first. The location matters — once the slate goes on, the table isn't moving without a teardown. We'll usually walk the room with you before anything comes off the truck to confirm placement.
2. Slate placement and seaming. Most quality tables use three slate pieces (some use one, some use more). The pieces are placed onto the frame, leveled relative to each other across the seams, and the seams are filled with a wax or beeswax-based filler so there's a continuous flat playing surface. This is where the math happens — the slate has to be flat to within thousandths of an inch across the entire surface, in every direction, or the balls will roll off-line.
3. Leveling. Once the slate is seamed, the entire table gets leveled using shims at the legs. A good installer uses a precision machinist's level, not a hardware-store carpenter level, because the tolerances are far tighter than what a regular level can read. Leveling can take 20-30 minutes on its own, and it's the single most important part of the install — a table that's even slightly off-level will frustrate every player who uses it.
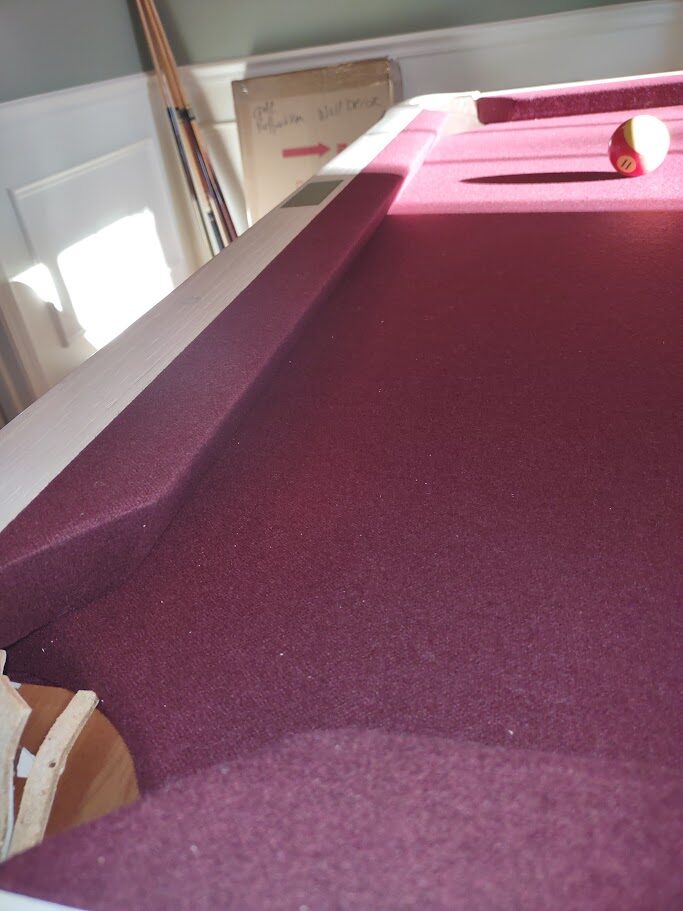
4. Cloth installation. The cloth is stretched across the slate and stapled or glued underneath, depending on the table design. It needs to be pulled tight in the right directions — there's a "nap" to billiard cloth that has to run a specific way for proper ball roll — and any wrinkles, sags, or loose spots will affect play.
5. Rail and bumper installation. The rails (the wooden frames around the perimeter that hold the bumpers) are bolted onto the slate, and the rail bolts are torqued in a specific cross-pattern to avoid warping. This is also where the pockets get attached.
6. Final leveling check and cleanup. After everything is together, we do a final level check (because the rail tightening can shift things slightly), confirm the pockets are seated correctly, and clean up. The whole process usually runs 1.5 to 2 hours for a standard install with reusable cloth, longer if new cloth is involved.
The big question: can my existing cloth be reused?
This is the question that drives the price more than anything else, and the honest answer is: sometimes yes, sometimes no, and it depends on a few factors.
Cloth can usually be reused if all of the following are true:
- The cloth is in good condition — no tears, no significant fading, no major stains, no worn spots from heavy play.
- The cloth was originally installed properly — stretched evenly, no holes, no shortcuts.
- The color works with your new space's interior colors.
If the cloth is more than 8-10 years old and showing wear or if the original install was poor, the cloth is typically a loss.
What I recommend: when you call to schedule, send photos of the playing surface. I can usually tell from the photos whether the cloth is a good candidate for reuse, and if it's borderline, we'll plan for the possibility either way.
Why new cloth means re-covering the bumpers too
This is the part that surprises a lot of customers, so it's worth explaining.
Pool table bumpers are wrapped in the same cloth as the playing surface. When you replace the cloth on the slate, the bumpers also need to be re-covered for two reasons:
First, color match. Even the same model of cloth will have slight dye-lot variation. If you replace the slate cloth with new and leave the rails wrapped in old cloth, you'll see a visible color line all the way around the table. It looks unfinished and it's the first thing anyone's eye will land on.
Second, mechanical condition. Bumper cloth wears out alongside slate cloth. By the time you're replacing one, the other is usually due. The cushions underneath the bumper cloth (the actual rubber that gives the bumpers their bounce) sometimes also need replacement on older tables — they get hard and dead with age, and a table with dead bumpers plays terribly no matter how nice the cloth is.
So when an installer quotes you for new cloth, that price typically includes recovering the bumpers, and possibly the cushions if they're due. It's not an upsell. It's how the work has to be done to give you a table that plays right.
What this looks like in practice
A standard install with reusable cloth runs in the lower end of the price range — it's mostly labor for assembly and leveling. An install with new cloth runs higher because you're paying for the cloth itself plus the labor to install it on the slate and recover the rails. An install with new cloth and new cushions runs higher still. None of these is a "trick" — they're just different scopes of work.
Custom cloth options
Most installs use standard billiard cloth in standard colors — green, blue, burgundy, gray. But there's a whole world of custom options if you want something specific:
- Premium cloth. Worsted wool blends like Simonis or Championship Tour Edition play faster and last longer than standard nylon-blend cloth. They cost more up front but are worth it for serious players.
- Custom colors. Beyond the standard palette, you can get pool cloth in dozens of colors — pretty much anything from black to bright orange to deep purple.
- Logo cloth. Custom prints with team logos, family crests, business branding, or commemorative designs are available through specialty suppliers.
- Themed cloth. Some installers and suppliers carry felts with patterns — felt that mimics card tables, sports themes, or decorative motifs.
If you want any of those, mention it when you call. Custom cloth typically needs to be ordered ahead of the install date, so the lead time is longer than a standard job.
What to have ready before the installer arrives
You can make the day go faster (and potentially save yourself some labor cost) by having the room set up before we arrive:
- Clear the room. Move all furniture, rugs, and floor obstacles out of the area where the table is going. We need room to work on all four sides plus space to lay out the slate pieces.
- Confirm the floor is in reasonable shape. Hardwood, tile, and concrete are all fine. Carpet is fine over a solid subfloor. What we can't level on is a floor with significant slope, soft spots, or a basement floor that's actively shifting. If you have any concerns about the subfloor, mention it when you call.
- Confirm the room layout. The standard recommendation is at least 5 feet of clearance on every side of the table for cue strokes. Less is workable but it changes how the table plays.
- Have an outlet accessible for power tools.
- Plan for any pets or kids to be out of the work area. The slate pieces are heavy and the install zone isn't safe for foot traffic during the work.
What it should cost
Pricing varies by region and table size, but in upstate New York the rough ballpark is:
- Standard install with reusable cloth — lower end of the range.
- Install with new cloth (slate + rails) — middle of the range.
- Install with new cloth, new cushions, custom cloth, or unusual access challenges — higher end.
I quote flat-rate per job rather than hourly, so the price you get on the phone is the price you pay. Photos of the table and the room help me give you an accurate quote up front.